|
Manis and Pedis are up in this economy! Having your nails done are one way to up your mood, or one way to complete any look! You do not have to spend hundreds of pesos to have your nails done. With the right tools, you can do your own nails! If you are anything like me, you will love doing your own nails. It relaxes me a lot and the satisfaction it gives me after accomplishing a perfectly polished nail makes me happy! Of course, I go to the nail salon when I need cleaning (about once a month) -just for cleaning, but changing nail color is as simple as 1-2-3! STEP ONE: PREPPING!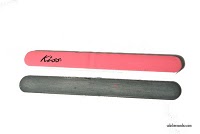 BUFFING Use a soft buffer to smooth our your nails. Make sure that you provide a nice smooth canvas for your nail polish! 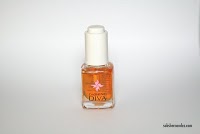 SOFTENING Use a cuticle oil (like Dashing Diva's Cuticle Nectar) to soften your cuticles. Drop a few products on each nail and leave on for about a minute before massaging your cuticles. 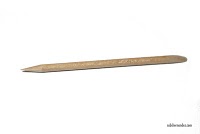 PUSHING With the flat part of your "cuticle" pusher, gently push your cuticles inward. Don't apply too much pressure on your nails to avoid scratching them and may cause your nails to have bumps. 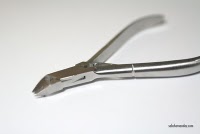 NIPPING AND TUCKING Use your nipper to simply nip the pushed cuticles. Nip your hangnails and those little skin tags that hang at the side of your nails. 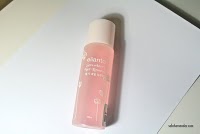 DRY IT Use a nail polish remover to wipe away oil residue and nipped cuticle particles. Nail polish removers are more gentle on your nails than acetone. They also come with a wide variety of yummy smells like grape and strawberry (like Elianto's Nail Polish Remover). Your nails have to be oil free because nail polish won't adhere to oil. 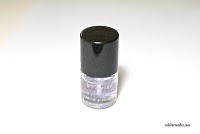 INSURANCE Some women like to skip this part, but not applying a base coat will cause your nail polish to streak when you apply them. Base coating gives that insurance that your nail polish will have a smooth surface for your color to adhere to. STEP TWO: PAINTING!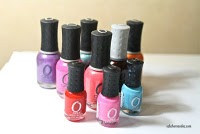 PAINT Now comes the best part.. PAINTING! Choose your color and paint your nails. Hold the brush mid-cap, not at the top -you will have more control. When painting your nails, start at the sides of your nails and then color the middle part. This will have less visible streaks. 2 coats will give you the right color that you need. Don't worry about nail polish on your fingers and on your cuticles, you can clean them up after your nails have dried to avoid nicking and smudging. 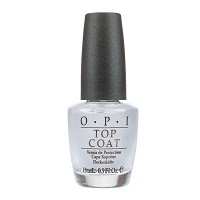 PAINT Now comes the best part.. PAINTING! Choose your color and paint your nails. Hold the brush mid-cap, not at the top -you will have more control. When painting your nails, start at the sides of your nails and then color the middle part. This will have less visible streaks. 2 coats will give you the right color that you need. Don't worry about nail polish on your fingers and on your cuticles, you can clean them up after your nails have dried to avoid nicking and smudging.  DOUBLE TIME IT! I love using this product! It can dry your nails double the time! Apply a drop on top of your nails and at the cuticles. Even though that this is a quick drying product, still, give your nails time to completely set and dry inside. The surface may be dry but the layers in between may still be wet. STEP THREE: PATIENCE.Give your nails plenty of time to dry. If you rush, you will be more prone to smudges and chips! If you get a chip on your polish, dot polish on the nicked spot. Let dry and apply clear nail polish on the entire nail.
1 Comment
3/21/2011 10:26:24 am
Just need to say your article is striking. The clearness inside your put up is merely spectacular and i can take for granted you're an expert on this field. Properly with your permission enable me to grab your rss feed to preserve up to date with forthcoming put up. Thank you a million and please preserve up the successful function. Your comment will be posted after it is approved.
Leave a Reply. |
Looking for my old blog? CLICK HERE. Or go to http://sabshernandez.tumblr.comfor quick product reviews and tips!
Archives
February 2011
Categories
All
Follow me on Twitter!Get amazing promos, special discounts, and beauty tips by following Sabs on Twitter!
|
 RSS Feed
